I pulled out a folded box from my folder of tips and techniques this week. Then I spent 2 hours trying to remember how to make it!! I put it back in the folder thinking I would have to pick something else only to turn the page and find my old instructions on how to make it LOL. I learnt how to do these one year at Stamping Down Under. I think it may have been Ellen Eadie whom taught it maybe? We were not given any instructions so I made it over and over again so I wouldn't forget how but putting it hidden away in my tips and techniques book for years and years meant I did forget how to do it...just as well I also wrote myself a how too way back then as well.
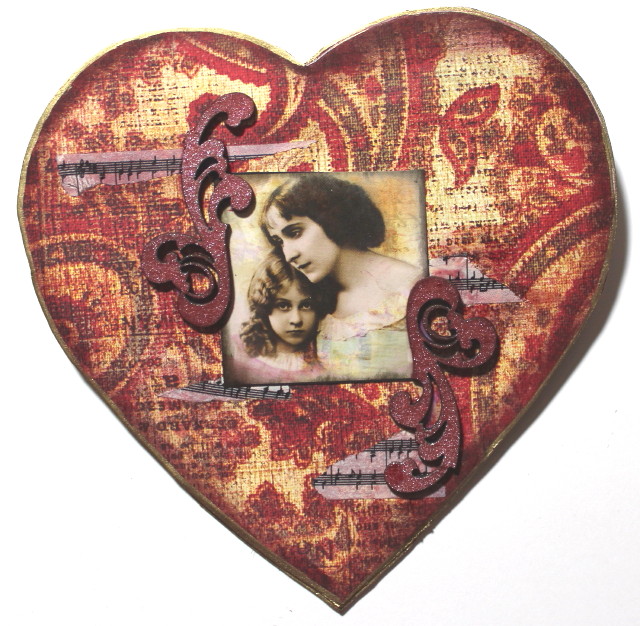
Below is a decorated box card I just made. I used gold vellum, folded the box shape, scored all lines and then stamped and embossed the flourish pattern on it. If you have used vellum before and tried stamping, embossing and then folding you would know the embossed parts fall off when you fold and score so hence why I folded. scored and then stamped and embossed instead

You gently open the box to reveal what is inside. I've put lollies, confetti and even money in these in the past.


2) Lightly mark the center at top and bottom. You can do this by measuring or by folding the paper in half and gently pinch the center only at either edge. I marked mine with a black marker so you can see it clearly.

3) TURN PAPER OVER and lightly mark the center with a dot. You can do this by measuring or fold paper in half and gently pinch the center only. Do not score. Unfold and fold paper in half in other direction and gently pinch the paper in the center Open it out and you will have a "cross" mark and the center intersection is the center of your paper.

4) Fold bottom up to middle marking and score along the folded edge.

Repeat with top.

5) Unfold and TURN PAPER OVER.

Fold top corners into dot in center of top edge. ONLY score from top crease to first fold line

Do same to both sides. My Ice Resin filled bezel is only there to hold the paper down so I could take a photo.

Unfold and repeat this step to bottom part. It should look like the image below.


Unfold and do the right side the same way.
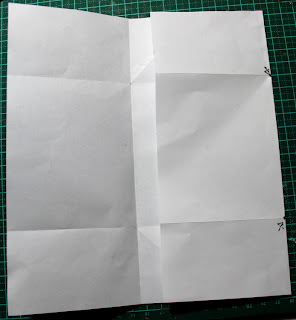
Unfold it to look like image below.

7) Fold top and bottom to center as you did in step 4. Score folded edges and leave it closed.


9) Fold the wings in to meet at center. Score folded edges. DO NOT UNFOLD.


10) Now you can fold the flap back to the left over the wing or I prefer a neater look by folding the flap back to left half way and then fold over again. This makes a smaller sturdier flap and also if you have measured slightly wrong and have two flaps that are not quite the same size you can hide the fault under the first fold on the flap

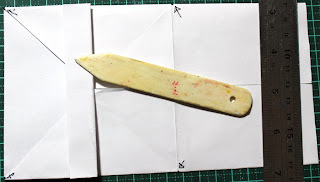

Pull it open to reveal the box inside


Below is a decorated box card I just made. I used gold vellum, folded the box shape, scored all lines and then stamped and embossed the flourish pattern on it. If you have used vellum before and tried stamping, embossing and then folding you would know the embossed parts fall off when you fold and score so hence why I folded. scored and then stamped and embossed instead

You gently open the box to reveal what is inside. I've put lollies, confetti and even money in these in the past.

Box Card How Too
Practice this on copy paper first. If you get the measurements slightly wrong the center front folds will vary in size. You can hide this when you fold the flaps of the box in later steps.
1) Cut down an A4 piece of paper to measure 28cm by 21cms (11inches by 8 and a half inches). Place it in the landscape orientation


3) TURN PAPER OVER and lightly mark the center with a dot. You can do this by measuring or fold paper in half and gently pinch the center only. Do not score. Unfold and fold paper in half in other direction and gently pinch the paper in the center Open it out and you will have a "cross" mark and the center intersection is the center of your paper.

4) Fold bottom up to middle marking and score along the folded edge.


5) Unfold and TURN PAPER OVER.

Fold top corners into dot in center of top edge. ONLY score from top crease to first fold line

Do same to both sides. My Ice Resin filled bezel is only there to hold the paper down so I could take a photo.

Unfold and repeat this step to bottom part. It should look like the image below.

6) Lightly mark the four points that the creases made in previous step. TURN PAPER OVER.

Bend the left side over were the first two pencil dots are that you just marked and score along the folded edge.
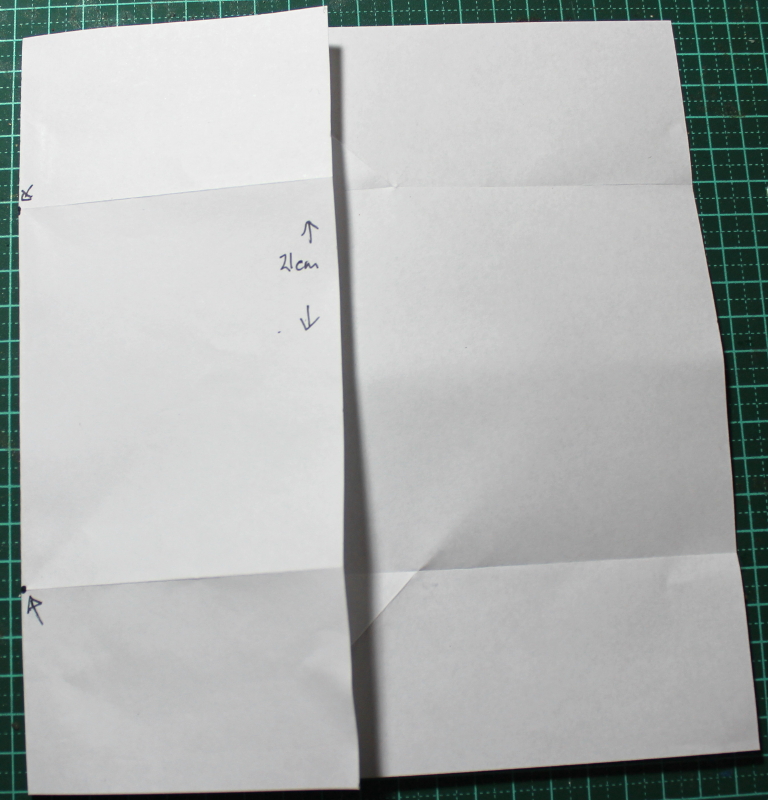
Unfold and do the right side the same way.

Unfold it to look like image below.

7) Fold top and bottom to center as you did in step 4. Score folded edges and leave it closed.

8) Hold right side closed with your right hand (or ruler if you are taking a photo LOL). With your left hand place it under the left side and begin folding it toward the center


Let the corners open outward and collapse flat, forming wings. Score the wing folds. DO NOT UNFOLD.

9) Fold the wings in to meet at center. Score folded edges. DO NOT UNFOLD.


10) Now you can fold the flap back to the left over the wing or I prefer a neater look by folding the flap back to left half way and then fold over again. This makes a smaller sturdier flap and also if you have measured slightly wrong and have two flaps that are not quite the same size you can hide the fault under the first fold on the flap


11) Repeat to the other side

Pull it open to reveal the box inside


Practice a few times and then try using decorative paper/card or stamped paper/card inside and out :o). Attach to a card base as I did with my sample. Enjoy.
hugs
Annette In Oz